Show Off Your Results with a Selfie: A Cosmetic Surgeon’s Guide to Great At-Home Before & After Pics
April 18, 2025 - Rhys Branman, MD
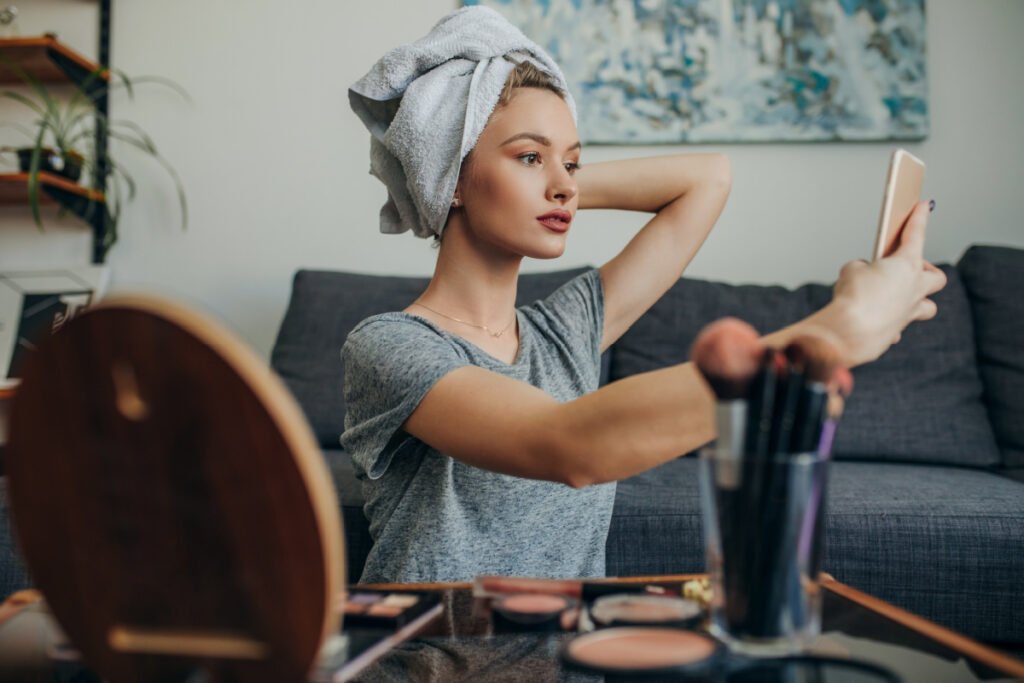
If you’ve recently undergone a cosmetic procedure, you’re probably eager to show off your results (for good reason!). But taking the perfect before and after pictures isn’t always easy; it can be hard to find good lighting and get the proper angle, especially if you’re taking them yourself. Since June 21st was National Selfie Day, we wanted to offer a few tips for taking stunning makeover photos. Guys, this post is for you, too!
1. Know Your Angles
Taking a selfie straight on probably isn’t going to make you look your best. While it may seem like the most obvious way to capture your own image, it’s important to angle your head/body or your phone (or both) for a few reasons:
- Highlight your results. Controlling the angle of your photo allows you to better show off your results. In most selfies, people want to show off their eyes or smile; but for showing off the results from a procedure, it’s important to be sure that your selfie draws attention to the enhanced area. For example, if you had a rhinoplasty, tilt your head to showcase your new nose from the side. For a breast augmentation, wear a cami or bralette that reveals your new curves.
- The camera adds 10 pounds—but you can change that. Taking your selfie straight on will make whatever is in the middle of the shot appear flatter and wider (this is called the “fish eye effect”) because your phone is literally an arm’s length away from your face. Here’s a tip to improve your full-body selfie: switch your phone to its front-facing camera and hold the phone upside down with your thumb at the top. This downward angle will make your body look thinner because it’s further away from the lens.
If you want to show off a comparison of how you looked before as well as after, it’s important to plan ahead and make sure you take your before photo from the same angle as your after photo. (If there’s a big difference between the two angles, your results may not be as apparent!)
2. Clean your mirror
A mirror selfie can be a great way to show off your results because you can capture your whole body. Instead of photographing just your chest with a rear-facing smartphone camera, shooting your breast surgery results in a mirror can show off your chest in proportion to your full figure. When using a front-facing camera, you can also view your shot before taking it to ensure your whole body is in the frame.
But, as anyone who’s taken a mirror selfie knows, your camera is capable of revealing even the tiniest mirror smudges. So before you snap that mirror pic, be sure to give the glass a quick wipe down.
3. Find good lighting
Lighting can make or break a photo, and this is just as true for selfies. Here are a few basic lighting tips:
- Natural light tends to be more flattering than artificial light.
- Go for a balance: too much light will cause you to appear washed out, while too little light will cause your results to be hidden in shadow. Ideally, you’ll want to find a well-lit outdoor space or an indoor space that gets plenty of indirect sunlight to snap your selfie.
- When taking photos outside, pay attention to the sun’s position in the sky. The best time of day to take outdoor photos is when the sun is low—either around sunrise or right after sunset.
- When taking photos inside, choose a room that gets plenty of natural light coming through a window. Hanging a sheer white curtain or sheet up can help you soften any direct sun.
Lighting can make or break a photo, and this is just as true for selfies.
4. Ask a friend for help
We know, this one is kind of cheating since it’s not a “selfie” tip, but sometimes you just need someone else to take your photo. Besides getting your entire figure into the frame, having someone else take your pic can provide an unbiased (and potentially more flattering) perspective. You don’t need to hire a professional photographer—a friend or parent will do just fine, as long as they know their way around a smartphone camera.
5. Try accessorizing
Adding a hat, a statement piece of jewelry, or a bag is a great way to add some personal style to any selfie. Plus, wearing accessories like a hat, sunglasses, or an oversized scarf is a great way to hide your face if you’d prefer to stay anonymous in your photo. Just make sure your accessory doesn’t hide your results; if this is something you’re worried about, remember that you can blur your face or hide your eyes with editing software instead.
6. Try a selfie editor app
There’s no question you look amazing, but there are certain things a photo editor can do to take your selfie to the next level, such as fix surface “flaws” or add a background. Here are a few of our favorite selfie editor apps:
- FaceTune 2 allows you to smooth skin imperfections, widen your smile, add a little seduction to your eyes, refine your jawline, and so much more. You can also blur or change your background to make your results pop. (Just make sure your background isn’t too distracting or it will detract from your results.)
- VSCO is great for adding filters to your selfies and changing things like shadows, highlights, and proportions. It doesn’t have the teeth whitening or eye enhancing tools that other apps offer, but what it lacks in these it makes up for in preset filters.
As a final word: If you do decide to use a selfie editing app, just make sure you don’t edit the results from your cosmetic procedure!
7. Use a tripod
If you don’t have anyone to help you take your photo or you just want to snap your photos alone, consider purchasing a small tripod stand for your smart phone. A tripod can help you position your phone’s camera exactly where you want it and set up a stationary frame, which is ideal for full-body selfies. If you plan on taking your pic somewhere other than your home, you may want to purchase a compact tripod that can fit in a backpack for easy transport. Once you’ve decided where to take your selfie, you can use the timer function on your phone’s camera to snap your pic.
8. Practice!
As a rule, never take one picture and call it done; you never know if the lighting is off or the photo is slightly blurry. You can also try taking shots at different times of day so that you’ll have a number of options to choose from. Plus, the more photos you take, the better you’ll get, and the more confident you’ll be in front of the camera!
Share your Little Rock Cosmetic Surgery results!
Our Cosmetic Surgery Center patients are proud of their results and love to show them off. We encourage you to share your before and after photos on our Facebook and Instagram—you can even tag us (#LittleRockCosmeticSurgery and #BranmanBabes) for the chance to be featured on our page!
Your “after” photo starts here
Ready to start your transformation? Board certified cosmetic surgeon Dr. Rhys Branman can help you shine inside and out with a variety of surgical and non-surgical cosmetic procedures. Contact our Little Rock office today to take your first step.

